Sunday, February 12, 2017

i3 training wheels: help on a scratchpad

[I have had a looksee at Manjaro i3 edition, and it's way beyond this.  It has a built in help screen for i3.  With the plethora of keybindings and tweaks to i3, this help file is a bit over much.  Maybe I'll still need a quick cheat sheet.  Notice, though, important keybindings are displayed as a conky]


i3 is a fast and simple tiling window manager for GNU/Linux that really does work.  I have a penchant for trying new window managers.  Each of them has it's pitfalls, the pitfalls where I just say, No More!  That might happen sooner, or later, with i3.  For now, it's an interesting new interface, and it's incredibly lightweight ... and fast! 

I'm going simple for now, grabbing keybindings and tweaks from several online sources.  The key bindings are not altogether intuitive.  They are not many, at least the ordinary ones.  I need some training wheels.

I generated a simple PDF with a table of sorts of keybindings.  It doesn't matter whether it's a PDF: it just needs to be a viewable file.  Now start the viewing app, and send it to a scratchpad.

Scratchpads in i3 are really useful, especially for this application.  Since i3 is not yet overburdened with all kinds of tutorials and forums and mailing lists---that I have seen---one isn't overwhelmed with advice.  Some useful documentation will be helpful at some point.  (I have been using mostly Ubuntu in this experiment.  Arch Linux has a relatively large number of packages, so a full exploration of those resources might lead to some things I would find useful.

I have found that some of the tweaks online do not work for me.  Probably I just don't understand them.  In particular, marking, tagging, and some other interesting ideas are not yet clear to me.

My Training Wheels

I used these keybindings for the scratchpad.  If I understand correctly, this is just any application in a window that can be buried and remains invisible until it is called up.  In which case, for my training wheels, the window becomes tantamount to a Pop-Up.

## scratchpad
To make the currently focused window a scratchpad:
       bindsym $mod+Shift+minus move scratchpad

To show the first scratchpad window: 
               bindsym $Mod+minus scratchpad show


The window is shrunk when invoked as a scratchpad, and it can be converted from floating mode to fullscreen mode with $mod+f.  I have my setup tweaked so that if I repeat this command.  I warn, though, that toggling the window back and forth between floating and tiling mode and back to floating mode again will erase the previous custom sizing, and the window will no  longer be a scratchpad.  

I also found it useful to use the resize commands on the scratchpad to adjust the size for comfortable viewing over an open window on the workspace.   I didn't see an explicit example or instruction for using the resize commands with a scratchpad.  They do work.  In resize mode ($mod+r) puts us into the mode):

            downarrow:   lengthen the window from the bottom
            uparrow    :   shorten the window from the bottom.
            rightarrow:    widen the window from the right.
            leftarrow  :    narrow the window

In normal mode

            $mod+Shift+<arrow>  :  Move the floating window around


Thursday, December 15, 2016

Low Tide at Crab Cove: Splash Zone

Exposed Branching Bryozoan
I walked along the edge of Crab Cove last night during a substantial minus tide.  When I arriived, about 5:30 PM, it was dark.  In a narrow band along the landward edge of the concrete walkway the water pools, among rocks of various sizes.  along the seaward edge is trapped a very narrow and shallow line of water; along one part I find a branched bryozoan, exposed but we  t enough to possibly be alive.  I am searching for hydroids.  None will reveal themselves this evening.

Looking back toward the visitors center
Along this narrow band, I was experimenting with the camera.  I have a selfie stick that I hope to use for photo transects along the mudflat, but in this darkness I am reluctant to try it.  The selfie stick is capricious, depending on the camera app I employ and the settings, so it requires further experimentation before trying this in the field, on the mud.  I am wearing my mud boots, but tonight I will not walk out onto the mud; the only other time I did so in these boots, it was also dark, and I got stuck in the mud for a brief time.  Neither am I experimenting with the macro attachment lens.


Along the edge is a railing.  It is possible to kneel with one knee on the lower rail.  Many amphipods and isopods are scudding about, and insects are around.  I take some random shots, found a few insects.   A large limpet had emerged from a small crevice, where some conspecifics were still ensconced.


Some denizens of the splash zone

An invasive Bryozoan (arrived in the 40's)

A Bryozoan appearing to be Cryptosula pallasia.

 In the field (photo at night)


In the bowl


In the microscope

The shape of the Aperture appears to conform with Cryptosula pallasia. 
Closer


Camoflaged, a Scale Worm. 

 A Scale worm


This might exhibit light flashes.  Something to check.


An unidentified insect


An unidentified insect, and some other critters.


Monday, December 12, 2016

Macro Photography with an iPhone 7+: Moment Lens

I have found the iPhone 6 and 7 to be amazing tools for photography.  Even though their low resolution (12MP)  presents an insurmountable wall, as far as optical enlargement, the cameras themselves seem almost magically better than those of other zmart phone cameras I have used.  The Photos image management tool is, for me, leaps and bounds better than those I remember from past phones, giving almost instantaneous access to large numbers of photos (if only it allowed instant deletion also!).  I loved the ability to deploy the Note 5 camera almost instantly; but the iPhone 6 immediately took my photography to a new level.  This is what happened to me many years ago, when I traded in a Nikkormat and several lenses for a used Leicaflex, and a low power telephoto: my photographs were instantly much, much better.

Macro Photography has a strong pull on me.  Give me a camera, and the first thing I do is check how close I can focus.  Well, I was fooled by the iPhone 7+, when I tried it at the Apple Store.  I took a shot of my finger, and was amazed how close I could get and how sharp was the photo.  I'm not sure I understand what was the difference, but later, using my own phone. I found that it was extremely difficult to get a photo of the same sharpness and magnification.  The problem was, I think, that the two cameras work together in mysterious ways, driven by the algorithms in the firmware.  Some of the algotrthms---as well as the functionality of the photo management infrastructure---seem to concentrate on the lowest common denominator of snap shots that an average consumer would take.  Face identification, pets, landscapes, kids.  Not that these are not important, but these cameras can do much more.  The iPhone7 and 7+ cameras can save photos in raw format; but the canonic camera app does not allow this feature to be exploited: I am learning to use other "cameras" to utilize this feature, as well as to access the functions of the physical camera with a more hands-on approach.   I'd be extremely pleased to be able to do my photography algorithmically.  Various cameras take better advantage than others of certain features.  Camera+ has a macro mode.  Several cameras can directly bypass the algorithms that select which of the iPhone 7+ cameras is being used for a specific shot.

So, fooled at first, I still am discovering its capabilities.   will mention that the wide angle lens brings much better results to dim light photography.  Perhaps to available light macro?

In this post, I am focusing on macro photography with the Moment Macro lens.

A review, of sorts

[The following comes from  a letter to Moment.]

   I am still climbing the learning curve.  During the time since I took delivery
   on my the iPhone 7+, I have tried out several camera apps.  I spend more time
   on Macro than anything else, so my experiences are biased in that way.

   Each cam has its own feature set, so I think that over time I will find myself
     using each cam for it's strengths.  None has all the advantage in any way.

    
   - burst mode is extremely useful to me.  I do alot of handheld macro (eg
     flowers, insects, etc.)  Taking a burst serves well: often, one of even 100
     photos in a burst is sharper or has a more salutary plane of focus or angle
     on the subject. 
   - The "Photos" app is remarkably facile for sorting through a burst or a bunch
     of photos quickly.  Rapid deletion without need for feedback is found on at
     least one camera;  I Would like to have that abillity from different cameras.
   - It would be be terrific if deletions or selections from bursts were
     reversible in some kind of trash bin for a while.
   - I don't quite understand whether the iOS photos app actually permanently
     deletes, when a selection is made from a burst.  For me, it would be best if
     these changes were indeed permanent.  I don't like sorting through my photos
     more than once.
   - The brush works well to clean the lens, so far.
   - I didn't realize that the diffuser on the macro lens is removeable.  I have
     been pleased with the results using the diffuser, which enables me to use the
     iPhone7+ flash with pretty good effect.  Not perfect.  I am thinking, how
     could a shiny metal reflector be used to effect on the other side of the
     diffuser bowl.  This would approximate the Lieberkuhn attachment for
     microscopes of 150 and more years ago.
   - Finding that I can use the lens without the diffuser: what a boon!  And how
     well designed is the hood!  It fits either way.  (Although I am disappointed
     that I must use an implement if my fingernails are cut short, to dig the hood
     out if it is pushed down into the diffuser too far.  Nice detail.
   - Camera+ app has a macro mode that is useful.  I haven't learned enough how to
     use it yet.
   - The photos I take are much better.
   - Night time macro walking out in the garden, the flash works great with this
     lens and diffuser.
   - I'm a little freaked out about the bracket, that at some point I might tweak
     the lens hard enough to bend the bracket.  The bracket sticks out far enough
     to make it possible to bank it or scrape it, putting the phone down.
   - My Silk iphone7+ case (see Wirecutter) works very well with the lens
     bracket.  Love this case.
   - I need to get access to raw.  This brings up the point that the Moment Camera
     is simple and nice, but except for recording the lens specs in the exif info
     it doesnt seem more useful than other cameras, esp the native camera.  BTW,
     access into complete exif info would be a boon from the camera app when
     reviewing pix.  Even better would be to record tags or comments in the exif
     of a photo.
   - So far I am very pleased with the quality and design of this lens.  KUDOS!

Some Photos

Looking at these, I want to do more.  Darn!  It's been raining quite a bit.  Time to hit a botanical garden, and check the possibility of using this as an "aquarium microscope" (through the glass). 

African Violet, using diffuser and flash, zoomed
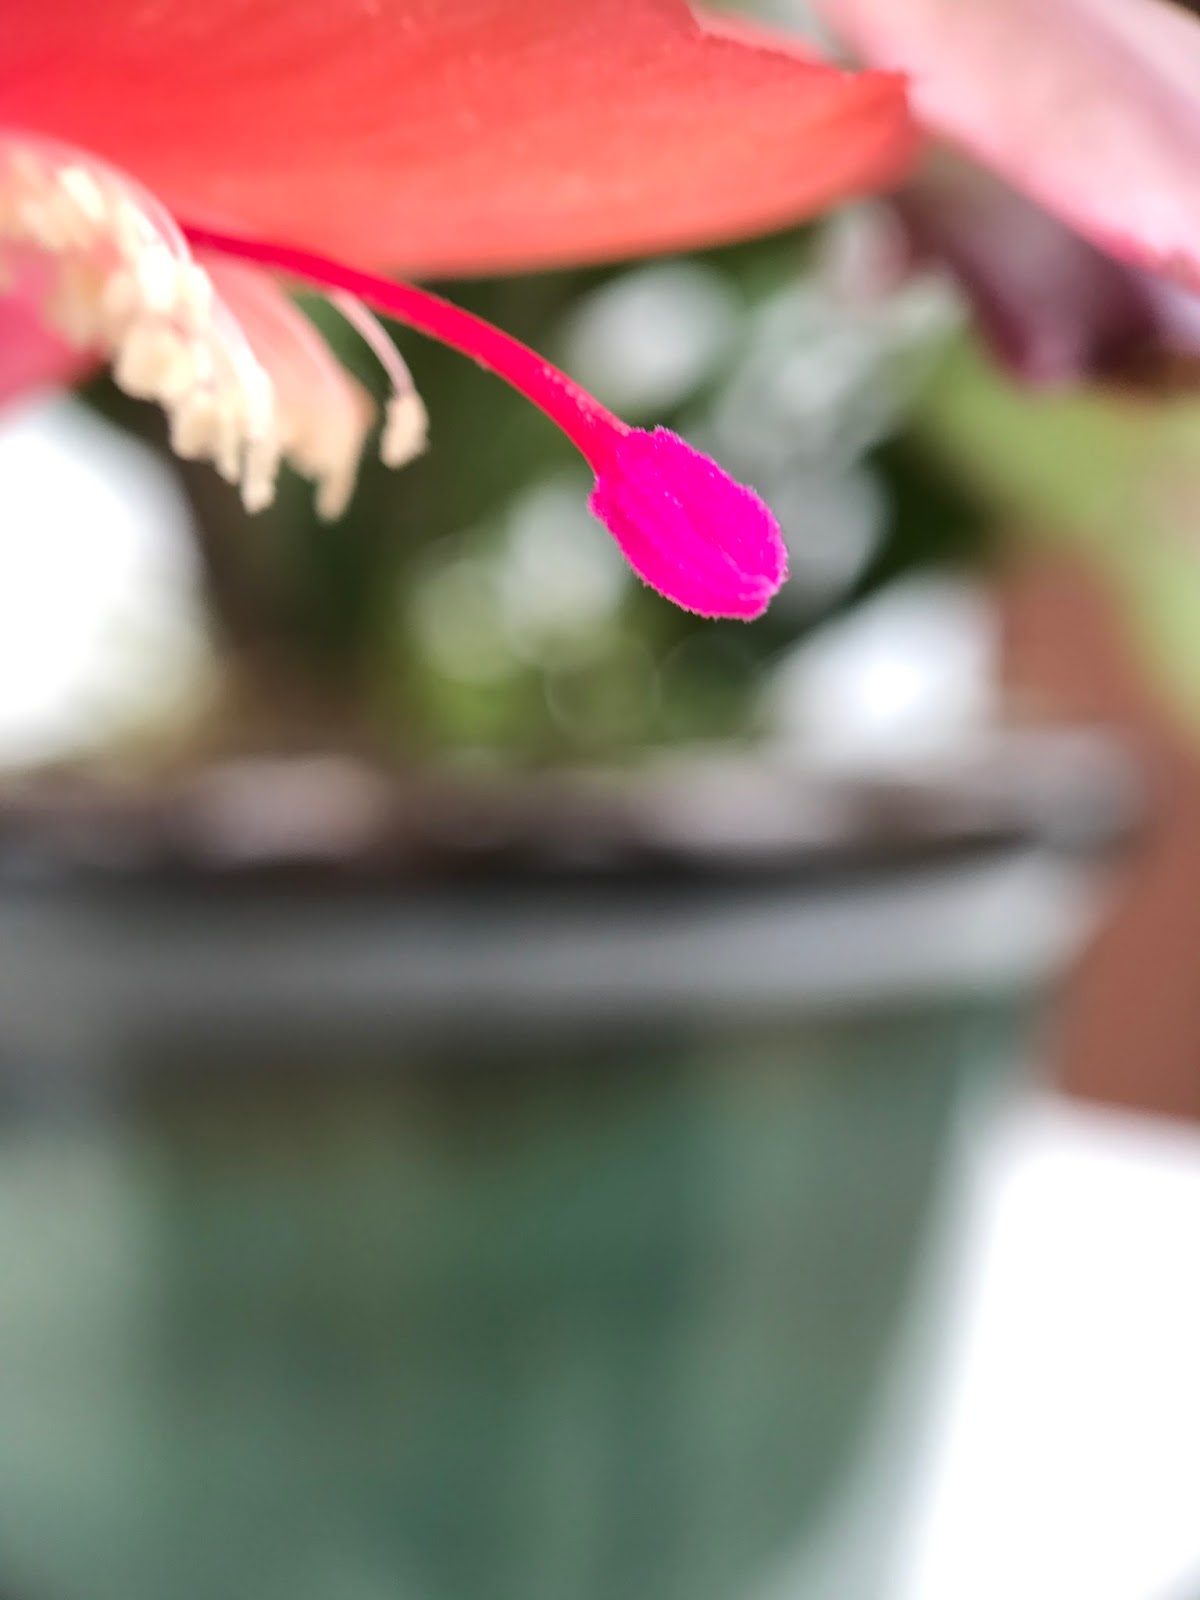
Christmas Cactus
+
Bouganvilla FLower
Spider in apartment on paper towel


Thursday, October 13, 2016

a note on Hydra as an animal, and the name "polyp", from Trembley.

Reamur applied the term "Polyp" to Hydra that were sent to him by mail by Abraham Trembley.  He determined that these polyps, of  Hydra spp., are animals.  Polyp referred to Cephalopods; hydra was deemed to resemble and octopus or squid.

The following is a note from Trembley regarding these issues:

https://www.evernote.com/shard/s98/sh/dd2fb6c1-045e-4ac7-9f0a-2da293787b0b/b2dfe04b4a072746e26af6cb571316c3

[ NOTE:  The term "polyp" was discussed by Reaumur; however, it was not his original idea, but that, I believe, of Peysonnel.  More later.]

Friday, September 9, 2016

cb2Bib Reference and PDF Management

I've been a fan of cb2Bb for years.  It's a magical application (not an App!) for quickly processing a BibTeX entry for any bibliographic reference.  A quick note about a feature I've only recently discovered---as recent as today: extracting of a BibTeX reference from a PDF file itself.

What remains is to tweak the script "bib2pdf" that is part of this package, to include annotations in the printed PDF.   I've done it, but it's enough of a hassle that I don't wish to go through the process again.  Mainly, I need to understand BibTeX better.

I processed a folder full of PDFs in about 2 minutes into a PDF listing.  Quality was an issue.  Again, no annotations and no abstracts.  This is doable.   Certainly it is a time saver.

This program works on Windoze and I have had it installed, but with lousy results on a mac.


Tuesday, August 30, 2016

Ricoh WG-5: A Mixed Review: Part I

[UPDATE: This camera was defective. I am returning it to Beach Camera for a refund, after Ricoh customer service suggested it is defective. I have elected not to exchange it. The quality issue is serious enough to scare me away. I may change my mind. For less money, I might go for a clip-on macro lens for the iPhone 6S+, except it's already been rendered obsolete by the iPhone 7---and how would you clip a supplementary lense on a dual camera phone?]
I've gotten ahold of a Ricoh WG-5 GPS camera, with Digital Microscope Mode that I have salivated over for some long time.  I was mightily disappointed at first, and, to be sure, the quality of the images has not much improved with experimentation.  However, I have had some limited success with Microscope Mode that suggests this camera, in some way, will be a boon.   If nothing more---and there is, fortunately, quite a bit more---this camera proves that manufacturers could be making much more useful instruments for macro photography---especially in focusing super close without attachments, and designing lighting to the task.  Let us hope that in the future, some manufacturers will perfect this approach.

It's somewhat mysterious what this microscope mode is, and what it can and cannot do, which led to my vacilation about taking this seriously.  Perhaps I can clear the air a little if I can start to post some notes and photos.

The manual helps only a little with Microscope Mode, although for this camera, I actually have found it helpful to read the manual.  This camera has many features that are not intuitively obvious. 

I have had my eye on the tough cameras for a long time, and finally got ahold of one.  Here's the first hard-learned bit: the models of two years ago (WG-3) are almost identical in terms of functionality, so one can save some money.

The Macro Stand.

Together with the camera is a microscope stand ring that snaps to the front of the lens. 

 This fragile little ring is a clue to a certain goodness of this camera: the ability to take a photograph of an object flush on the table top.  Here are three full-frame shots taken using the Macro Stand, with the ring of LEDs around the perimeter of the lens. 


 These are Millimeters on a small machined rule.


It is helpful to hold the object steady.


Case in Point:  Cataloging Microscope Slides

Here is a something more useful.

Full View (Macro Mode)
 Full view taken with Macro Mode


Notice the six LEDs reflected from the glass slide in this view, taken with the camera elevated.


Resting on the Macro Stand.  A reflective white table top was fortuitous.  I used "Vivid" mode to enhance the colors.


Closer up still, zooming in:


 Bottom line: Not publishable, but very useful.   Truly a legitimate use.


Lighting.

I haven't yet mastered the use of the macro modes or the macro LED light ring.  They can be set up to be on for macro focusing.  Nice for night shooting outside.  They seemingly brighten for a flash of time during exposure. The strobe flash is separate. The ring lights are the obvious Coup of this camera.  The Olympus TG-4 has gotten better reviews, but uses a snap on ring light guide.  One thought: what if this could be made much stronger, or use UV or IR LEDs?  


Some Pros and Cons


I.  Cons

  1. Microscope mode achieves its magnfication by digitalliy zooming.  The final resolution is a mere Megapixel shots.  This is scarcely usable.  This may be on a par for early selfie cameras on Cell Phones. 
  2.  

II.  Pros

  1. The Remarkable LED Ring is an amazing feature that allows one to frame macro shots, even in darkness and it acts as a "flash"
  2. The macro stand allows one to shoot on a flat surface.  
  3.  

 MORE:

Nifty ringlight on Thingaverse (for 3D printing):

 http://www.thingiverse.com/thing:488962


Here is A useful Review